


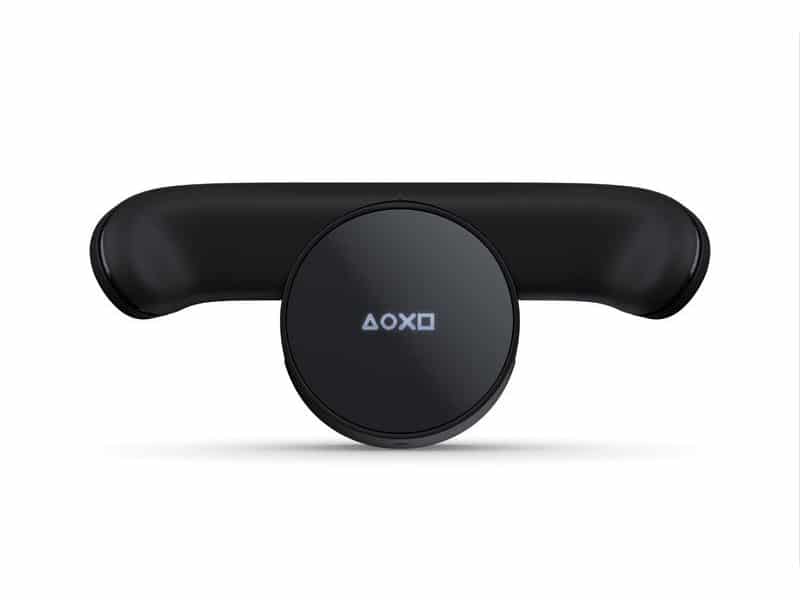
XIM NEXUS is the most advanced controller ever created for PlayStation, Xbox and PC gaming. Unleash your full potential with custom thumbstick curves and precision motion aim to greatly increase your accuracy.
XIM NEXUS includes the intuitive Smart Actions macro engine, built right into the controller. Create anything from simple turbo buttons to advanced progressive polar antirecoil that integrates seamlessly with a game's look mechanics.
In this guide you'll learn how to setup Rapid Fire on XIM NEXUS in a few easy steps.

What You Need
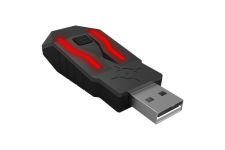
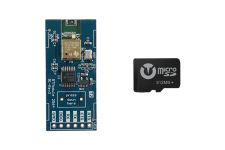
- XIM NEXUS video game controller and USB adapter.
- XIM NEXUS Manager app on Windows 10 PC, iOS 13+, or Android 6+ smartphone or tablet.
- Smart Actions require the latest XIM NEXUS firmware and XIM NEXUS Manager app. Download at https://xim.tech/beta.
- XIM NEXUS Manager on PC requires a Bluetooth 4.0 or higher adapter.
- A supported gaming system (PlayStation, Xbox, PC & Mac).
A complete list of XIM NEXUS requirements can be found in the Conditions tab of the XIM NEXUS product page.
This guide assumes you know how to connect XIM NEXUS controller to XIM NEXUS Manager, and how to install a game config on XIM NEXUS. If not, refer to the XIM NEXUS User Guide.
Step 1. Open Game Mappings
- In XIM NEXUS Manager app, tap or click the three dots at top-right of screen and select Load Config for your game.
- Tap or click the edit icon from top-left of screen to open the selected game config.
- Scroll down to “Switch to Expert Editing experience” and tap or click to enable.
- Swipe from right to left, or click the arrow at right of screen to navigate to the Mappings page.
Step 2. Create Smart Action
- Tap or click the RT button in Mappings and select Delete Binding.
- Swipe or scroll down the Mappings page and select the + icon just below the bottom of the Mappings list.
- Select Smart Actions Editor at the bottom of the pop-up screen.
- Tap or click the Right Trigger Position action to add the RT button to the Smart Action timeline. Leave the position at 100%.
- Tap or click the Wait icon to add it to the Smart Action timeline. Leave Wait at 100ms.
- Tap or click the RT button again to add it to the Smart Action timeline. Drag the slider below the timeline from 100% to 0%.
- Tap or click the Wait icon again to add it to the timeline. Leave Wait at 100ms.
- Tap or click the SAVE button at the top of XIM NEXUS Manager to save your Smart Action.
The Smart Action sequence of RT 100% → Wait 100ms → RT 0% → Wait 100ms tells XIM NEXUS to hold the Right Trigger for 100ms, then release the Right Trigger for 100ms. The sequence repeats for as long as the RT button is held.
Rapid Fire Smart Action replaces the default Right Trigger behaviour. If the default RT mapping is not deleted in Step 1, Rapid Fire won’t work.
Step 3. Test and Tweak
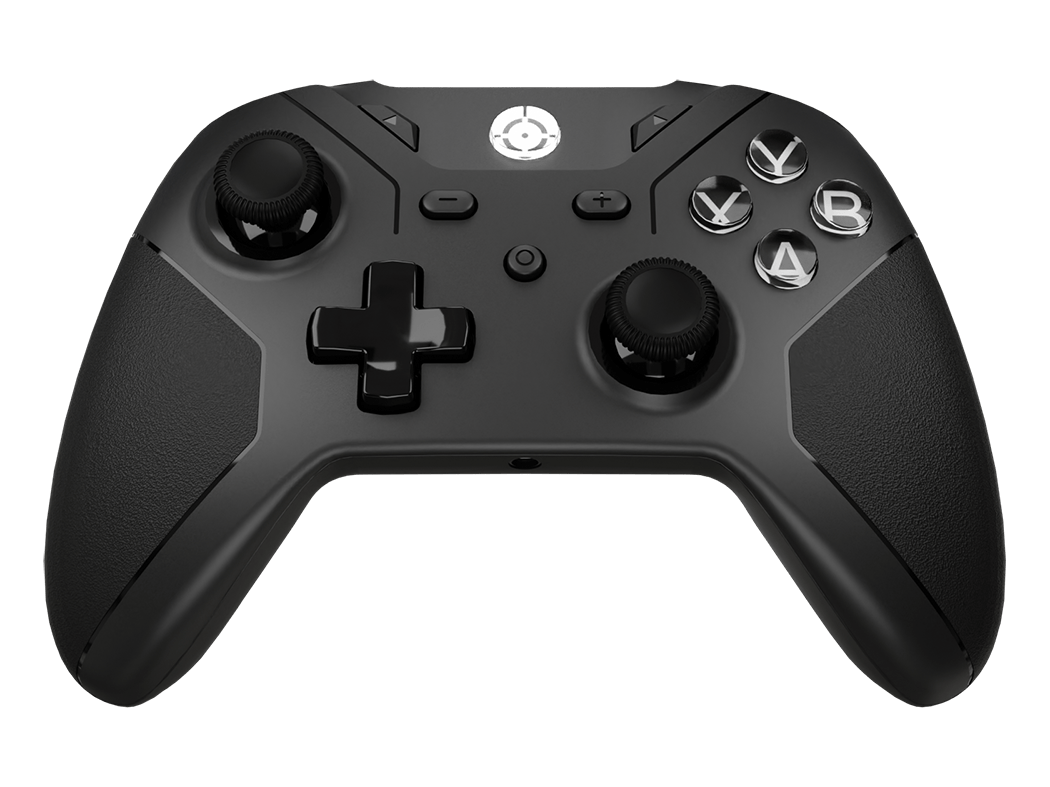
- XIM NEXUS controller.
- Smart Actions require the latest XIM NEXUS firmware and XIM NEXUS Manager app, available at https://xim.tech/beta.
- XIM NEXUS Manager app requires Windows 10, iOS 13, or Android 6 or higher.
- XIM NEXUS Manager on PC requires a Bluetooth 4.0 or higher adapter (not included).
- A supported gaming system (PlayStation, Xbox, PC & Mac).
A complete list of XIM NEXUS requirements can be found in the Conditions tab of the XIM NEXUS product page.
Learn More About XIM NEXUS
- XIM NEXUS controller.
- Smart Actions require the latest XIM NEXUS firmware and XIM NEXUS Manager app, available at https://xim.tech/beta.
- XIM NEXUS Manager app requires Windows 10, iOS 13, or Android 6 or higher.
- XIM NEXUS Manager on PC requires a Bluetooth 4.0 or higher adapter (not included).
- A supported gaming system (PlayStation, Xbox, PC & Mac).
A complete list of XIM NEXUS requirements can be found in the Conditions tab of the XIM NEXUS product page.